Archive for the 'This & That' Category

Thread Sketching

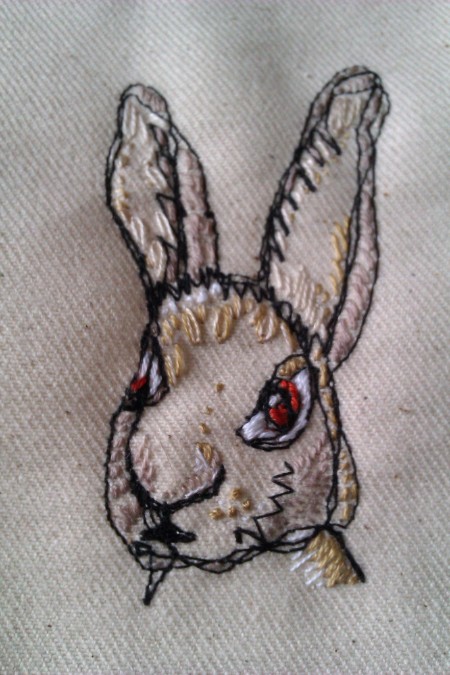
A bit more fun using the sewing machine to draw images with thread…

 thread sketch hare

I did a basic outline of the hare using an Air/Water erasable fabric marker (it takes about 2 days to fade away completely) and then used the sewing machine to draw fairly loosely over the top several times. To do the freemotion stitching you need to drop the feed dogs on your machine and use a darning foot if you have one, my machine didn’t but I bought a universal darning foot on-line for about £10 which works very well. I used embroidery threads to fill in the facial details afterwards.

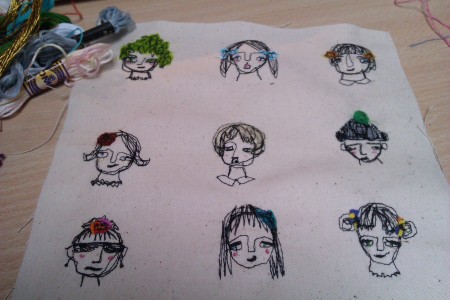
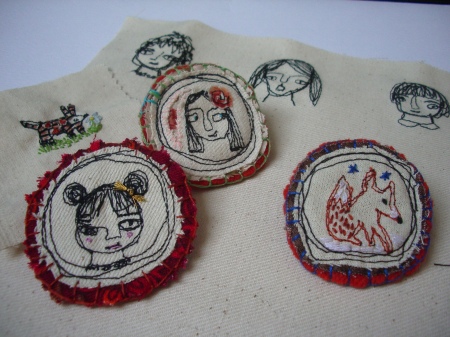
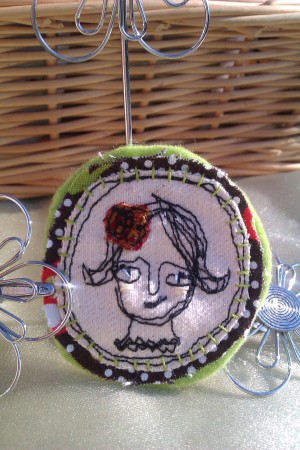
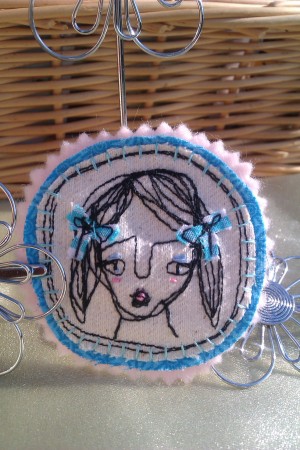
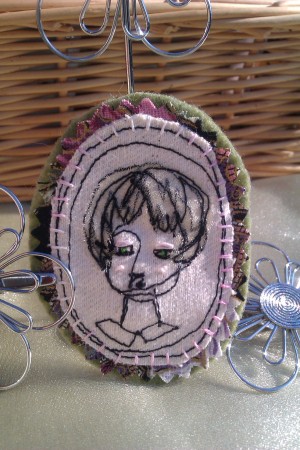
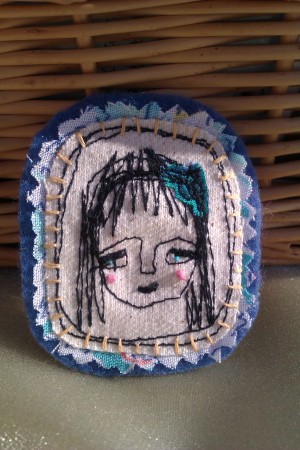
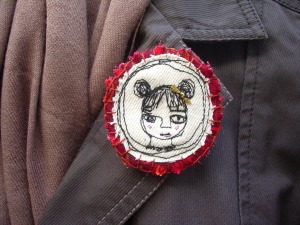
These strange little faces have been done the same way (although I didn’t use the air/water pen). So, machine sketching first, then adding a few details using fabric (attached by machine) and smaller details being added at the end with embroidery thread, by hand. group freemotiongroup freemotion brooches

Then I chose some complementary fabric and a piece of felt to the back along with a brooch pin.

girl rose girl bunches girl bob girl blue

bun girl on jacket

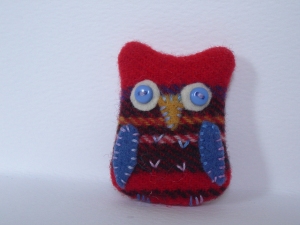
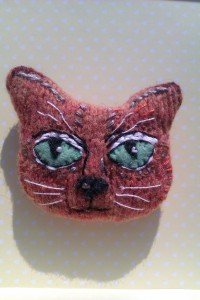
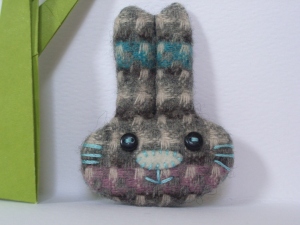
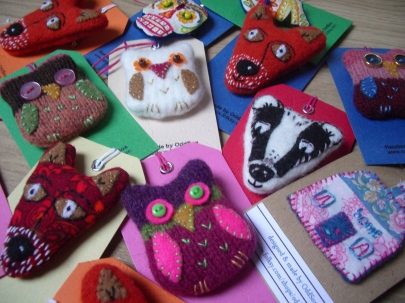
…and then I made a start on a few more hand stitched brooches from upcycled woollen scarves and pullovers – owls, cats and bunnies so far…

owl brooch  cat broochbunny brooch

Orange and Almond Madeleines

ImageImage

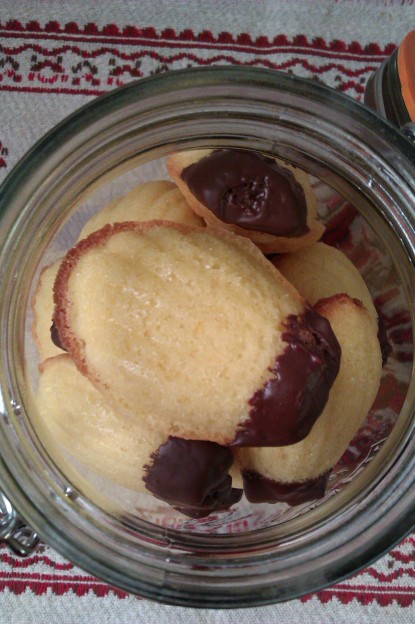
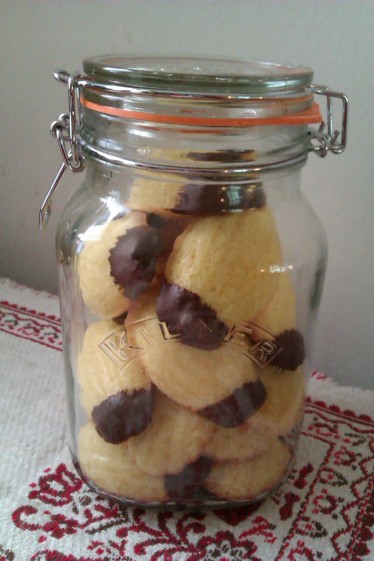
I bought myself one of those silicone madeleine moulds last week and planned to try the recipe that came with it for lemon and vanilla madeleines. I discovered the lemons I had were too hard to grate so decided to use oranges instead. I then realised that the new bottle of vanilla extract I’d bought turned out to be almond extract!

Still, they turned out to be delicious, especially with the ends dipped in melted chocolate. They’re very light and airy due to fairly intense beating. This recipe used icing sugar which I think added to the lightness.

These are the ones I want to try next, Date and Earl Grey Tea Madeleines with Muscavado Dip. 

Feel free to share any recipe links to madeleines you’ve tried and enjoyed.

3D Wire Bird Sculpture Workshop

Image

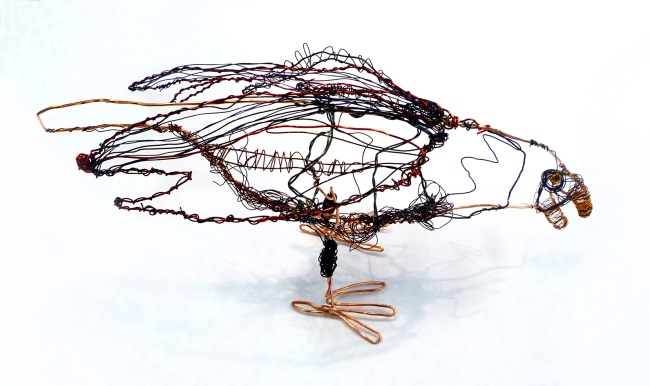
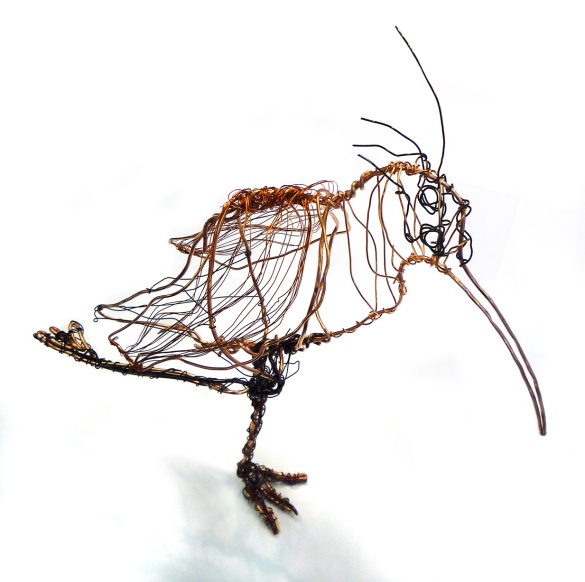
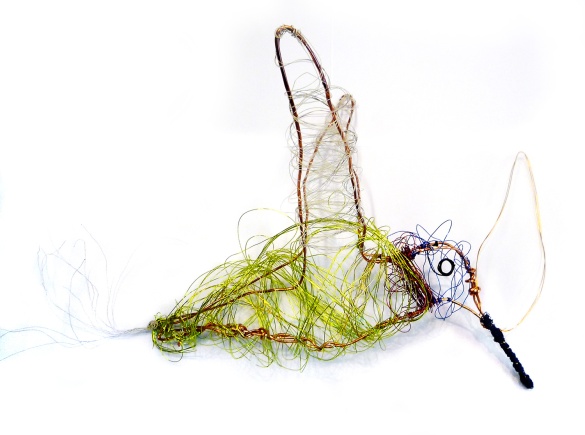
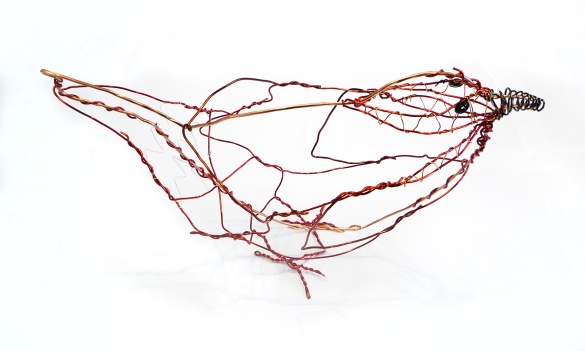
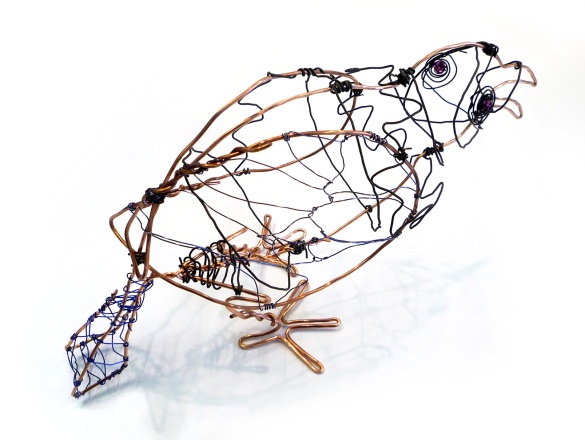
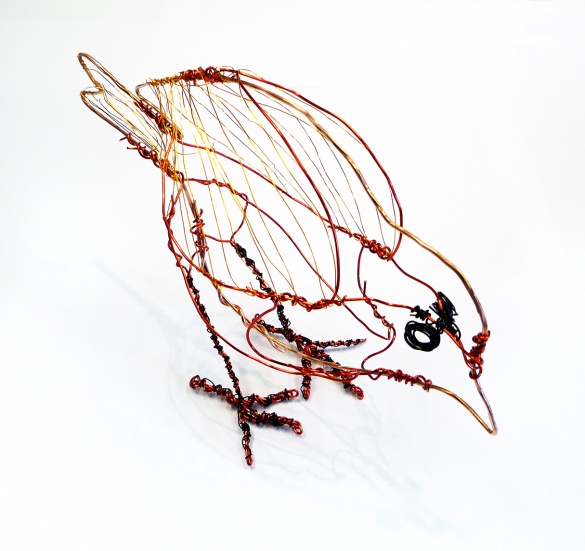
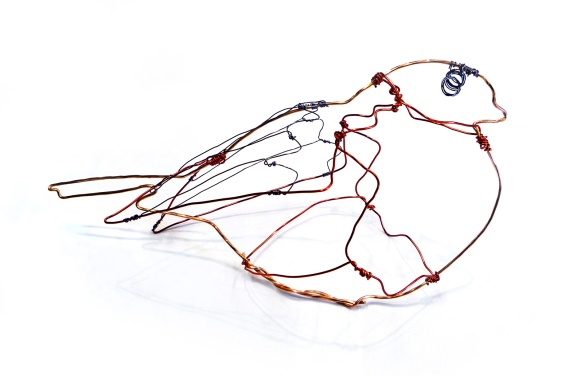
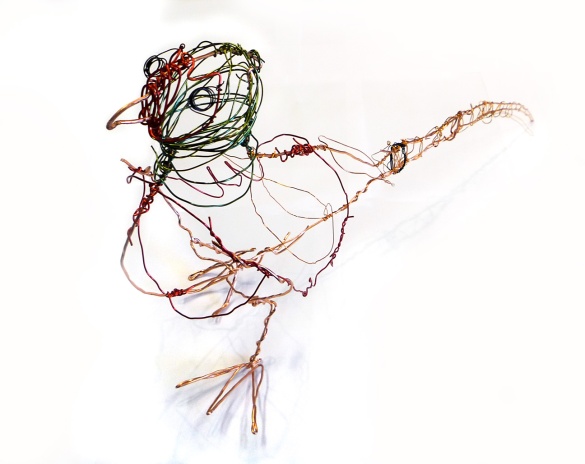
I spent a very enjoyable morning this weekend using one of my Christmas presents, a 3D Wire Bird Sculpture workshop. There were 9 of us attending and we were asked to bring along a side or aerial view of a bird we would like to make. Our tutor showed us how to trace the outline of the bird with copper wire to make a sturdy frame to start from. She then showed us how to go about giving the bird a 3d structure along with techniques to make feet and eyes.

Image

We had a lovely choice of different colours and thicknesses of wire to work with and the only tools we needed were pliers and a bit of strength for bending the initial frame.

Image

Our workshop took place at New Greenham Arts in Newbury and was run by Sculptor Flora Gare. Definitely worth the money, and enough instruction and guidance to be able to make more at home. I’m definitely going to try something else. There are regularly fun things to get involved with, just check the Newbury Corn Exchange website for upcoming events.

Image

I’ve included a picture of everyone’s bird – all achieved in just 3 hours, I think they’re all great and so different. Mine’s the one at the top of the post (it’s a raven).

Image

ImageImageImage

Craft Fairs in Berkshire – November & December 2013

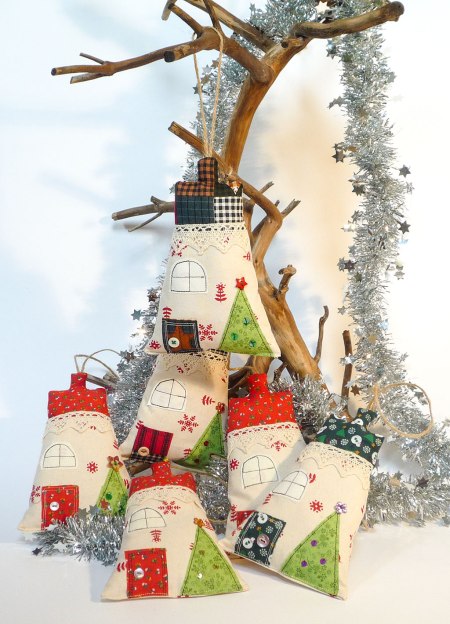
  xmas-house-05

It’s that time of year again. Time to get ready for a few pre Christmas craft fairs. I’ve booked tables at three fairs, starting next weekend.

Saturday 2nd November – 11am – 4pm
Catholic Hall, 7 Bath Road, Thatcham RG18 3AG
Free admission and parking

 Beautiful handmade crafts & produce  –  Refreshments & cakes for sale  -  Craft activities, face painting & glitter tattoos for the Children!
 Pop over to the Facebook page to find more details of other crafts people who will be attending along with pictures of some of their products: www.facebook.com/craftfairorganiser

IMGP8681 IMGP8684 IMGP8693

IMGP8685IMGP8688IMGP8690

These are a few of the items I’ll be taking with me.  The next events I’ll be attending are:

Saturday 23rd Nov – 10am-4pm – Methodist Church Hall, Kingsclere

Saturday and Sunday 8th & 9th December – 10.30am-4.30pm – Yew Tree Garden Centre, Ball Hill, Newbury

I hope some of you can make it, there will be refreshments available at all the venues so you can have a sit down with cake and a cuppa after shopping 🙂

Homemade Rhubarb & Ginger Vodka

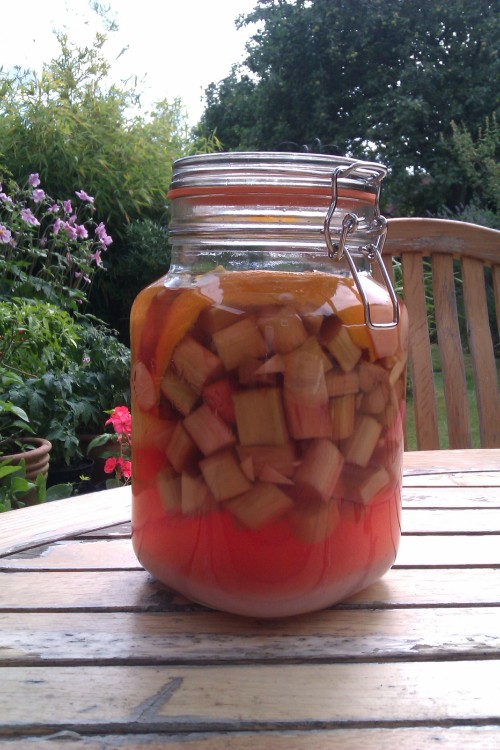
I wanted to use up some more of our allotment rhubarb before it goes over so I had a hunt around for homemade vodka infusions and thought this Rhubarb & Ginger mix from Sarah Raven sounded good. It was very quick to put together, it looks really pretty and best of all you only have to wait one month before sampling 🙂

rhubarb ginger vodka

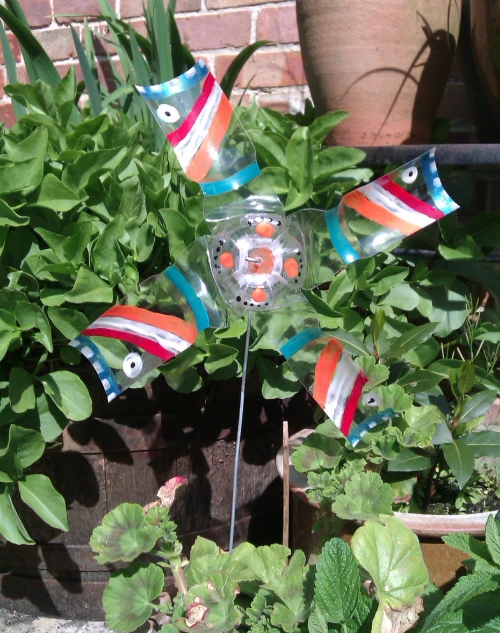
DIY garden windmill from a plastic bottle

nail polish windmill

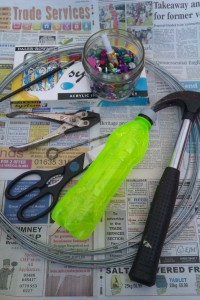
Things you will need to make a windmill or pinwheel from a standard plastic soft drinks bottle:

Try and choose a sunny, windy day and make your windmill outdoors.
windmill 01

1 x 330ml plastic soft drinks bottle

scissors

sharp knife to cut through plastic (e.g. scalpel)

thick wire and a tool to cut it with

metal skewer or similar for making a hole through plastic plus a hammer – or better still a drill

acrylic paints or nail polish

beads and sparkly sequins

WHAT TO DO:

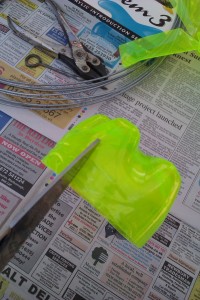
Begin by using the sharp bladed knife to make an inicision in the bottom of the bottle, then use the scissors to cut all the way around. If your cutting is a little uneven like mine just trim the edges afterwards.
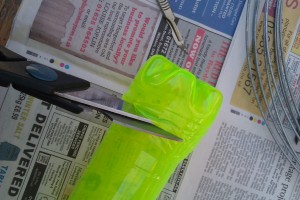
windmill 02

Now use the scissors to cut 4 evenly spaced sails along the body of the bottle – leave approximately 3 inches uncut – you don’t need to be too precise.
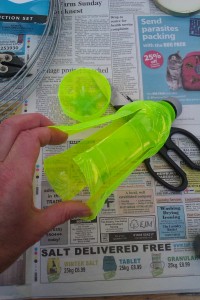
windmill 03

Time for a bit of folding. Each sail needs to be folded outwards at an angle. This will help the wind catch the sails.
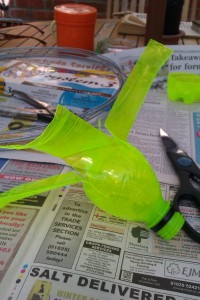
windmill 04

This is how it appears when looking down the neck of the bottle
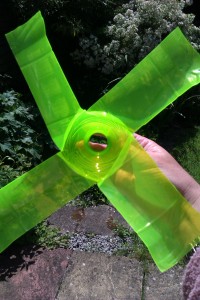
windmill 05

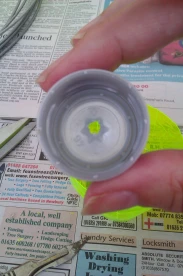
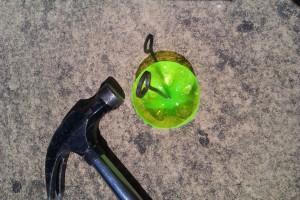
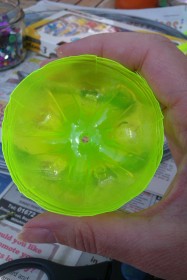
Using the scissors again, make 4 short evenly spaced cuts around the end part of the bottle.windmill 06Now the tricky part unless you have a drill! You need to make a hole in the centre of the bottom part of the bottle and the same in the lid of the bottle. The plastic of the bottles I used was quite thick so I found it necessary to use a metal skewer and a hammer to hit it with several times. The lid was much easier. You will need to make sure that the holes are big enough for your wire to pass through easily. This will make sure your windmill spins well. Try and remove any rough edges around the holes to aid smooth spinning. I used a scalpel for this.
windmill 07

windmill 08 windmill 09

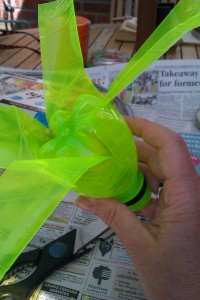
Time to do the first part of assembling. Take the bottom part of the bottle and push it inside the open end of the sail part. This is where the cuts you made will help it stay inside. If it wants to pop out again just secure it with a few dabs of superglue.
windmill 10

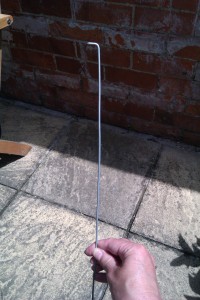
Now take your wire and decide how long you would like the stem to be plus enough extra to run through the bottle from one end to the other. Put a bend at one end of the wire – this will secure the centre of the windmill.
windmill 11

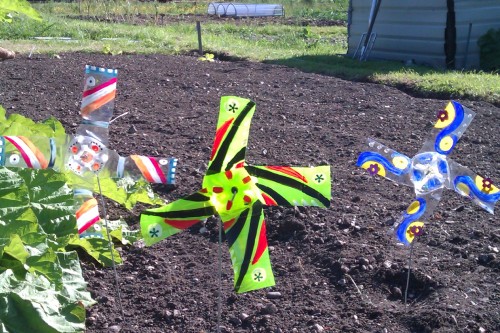
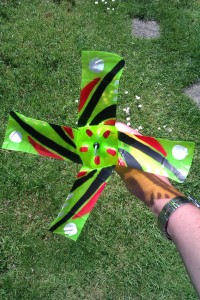
Now the bit I enjoyed most – painting 🙂 I used acrylic paints on this one so the pattern doesn’t get washed off in the rain. The windmill at the top of this post was painted using nail polish which works well too but needed a few coats. I also stuck sparkly sequins on another one – they look lovely if it’s a sunny day.
windmill 13

When the paint is dry you can assemble everything together.

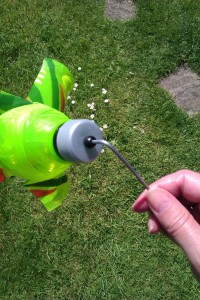
Take the wire and add a bead to to the bent end (this will stop the wire catching on the centre of the windmill). Thread the wire through the centre and out through the lid. Before screwing the lid closed you can add a few sequins and small beads – nothing too heavy – inside the windmill. I have done this because I’m using them on my allotment to try and keep birds and moles away!

Before bending the wire to make the stem, now would be a good time to test whether your windmill will spin. If it’s not a windy day, just blow really hard at the front of your pinwheel. If it doesn’t spin check the wire isn’t catching and give the sails an extra push back.

Now screw the lid closed, add another bead and bend the wire at right angles to form a stem that can be pushed into the ground.
windmill 14

FINISHED 🙂
IMAG0291

Spiced Apple Fabric Hearts

I’ve finally started using some of the lovely Joel Dewberry fabric strips I bought a few months ago. I’m using the pink and green complementary pieces first to make some hanging heart decorations.

I’m filling them with polyester fibre filling to make them soft along with a couple of spoonfuls of apple spiced aroma beads to give them a lovely christmassy scent. It smells really lovely around my workspace!

This summer I bought an old Imperial typewriter from a car boot sale for £5.  I’ve been using it to type ‘Spiced Apple’ onto pieces of calico to sew to the front of the hearts, just to make them a bit different – I quite like the effect.  I’m hoping to have a selection available for my next craft fair this weekend at Thatcham Catholic Hall – better get my skates on 🙂

Wobbly Baby Giraffe – one day old

This weekend we did a family day out to Marwell Wildlife in Hampshire (about 8 miles from Winchester).

One of the nicest parts of our visit this time was seeing the 1 day old wobbly little giraffe baby with its Mum Isabella – if you click the pic it will take you to my Flickr page where you can watch a very short video clip of it stumbling across to the hay basket (the keepers haven’t been able to identify if it’s a boy or a girl yet)

Click the pic to watch a mini clip on Flickr

Most of my photos didn’t come out too well but here are a handful of the better ones

Lounging ring-tailed lemurs

Ocelot having a nap

Thirsty Tiger

Wendy the hippo having a yawn

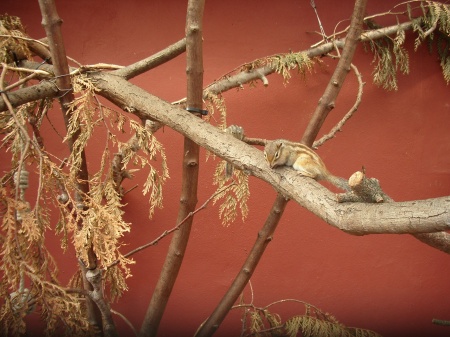
A cheeky little chipmunk

We booked the tickets on line which means you don’t have to queue at the gate and it also gets you a 5% discount. We took a giant picnic as there are lots of open areas and picnic tables throughout the park.

We’ve been to Marwell quite a few times now and it’s lovely -it’s set in 140-acres and is home to over 180 exotic and endangered species, in beautiful, landscaped surroundings. We arrived at about 10.30am and didn’t struggle to fill a whole day – we left at 6 o’clock closing time.  There are lots of friendly, helpful and knowledgeable volunteer staff at the park who will come and chat with visitors and share interesting snippets about the animals and various events happening throughout the day. I’d give it 10 out of 10 on the ‘good-day-out-ometer’. 🙂

Copy Cat!

Who’s copying who?

Just in case you were wondering, one of them isn’t real!

Knitted Sleepy Bear in a Bunny Suit

I spotted a picture on Pinterest last week of the cutest little knitted sleepy bear wearing a red knitted button up suit with big bunny ears.  I really couldn’t resist him, isn’t he lovely 🙂

The Folksy shop is called ‘Hand Knitted Bears’ and you can put an order in with Martha for any colour combination you like. She says to allow up to 7 days for your bear to be made but I had mine within 3 days of my order, which was super speedy. My little bear has moveable arms and legs so he can easily be posed in a sitting position.

Martha has lots of cute bears in different outfits to choose from so do go and have a look, they are amazing value too – after seeing the amount of work first hand, they’re definitely worth a higher price tag. Beautifully made, very good service and delivered wrapped in tissue paper tied up with a ribbon… HAND KNITTED BEARS


Visit my OddSox shop

Folksy

CRAFT FAIRS:

28th & 29th November 2015 - Yew Tree Garden Centre - Ball Hill - Newbury - 10:30am to 4:30pm - FREE ENTRY

Enter your email address to subscribe to this blog and receive notifications of new posts by email.

Join 2,296 other subscribers

OddSoxUK on Flickr

Follow Me on Pinterest
Folksy