Things you will need to make a windmill or pinwheel from a standard plastic soft drinks bottle:
Try and choose a sunny, windy day and make your windmill outdoors.

1 x 330ml plastic soft drinks bottle
scissors
sharp knife to cut through plastic (e.g. scalpel)
thick wire and a tool to cut it with
metal skewer or similar for making a hole through plastic plus a hammer – or better still a drill
acrylic paints or nail polish
beads and sparkly sequins
WHAT TO DO:
Begin by using the sharp bladed knife to make an inicision in the bottom of the bottle, then use the scissors to cut all the way around. If your cutting is a little uneven like mine just trim the edges afterwards.

Now use the scissors to cut 4 evenly spaced sails along the body of the bottle – leave approximately 3 inches uncut – you don’t need to be too precise.

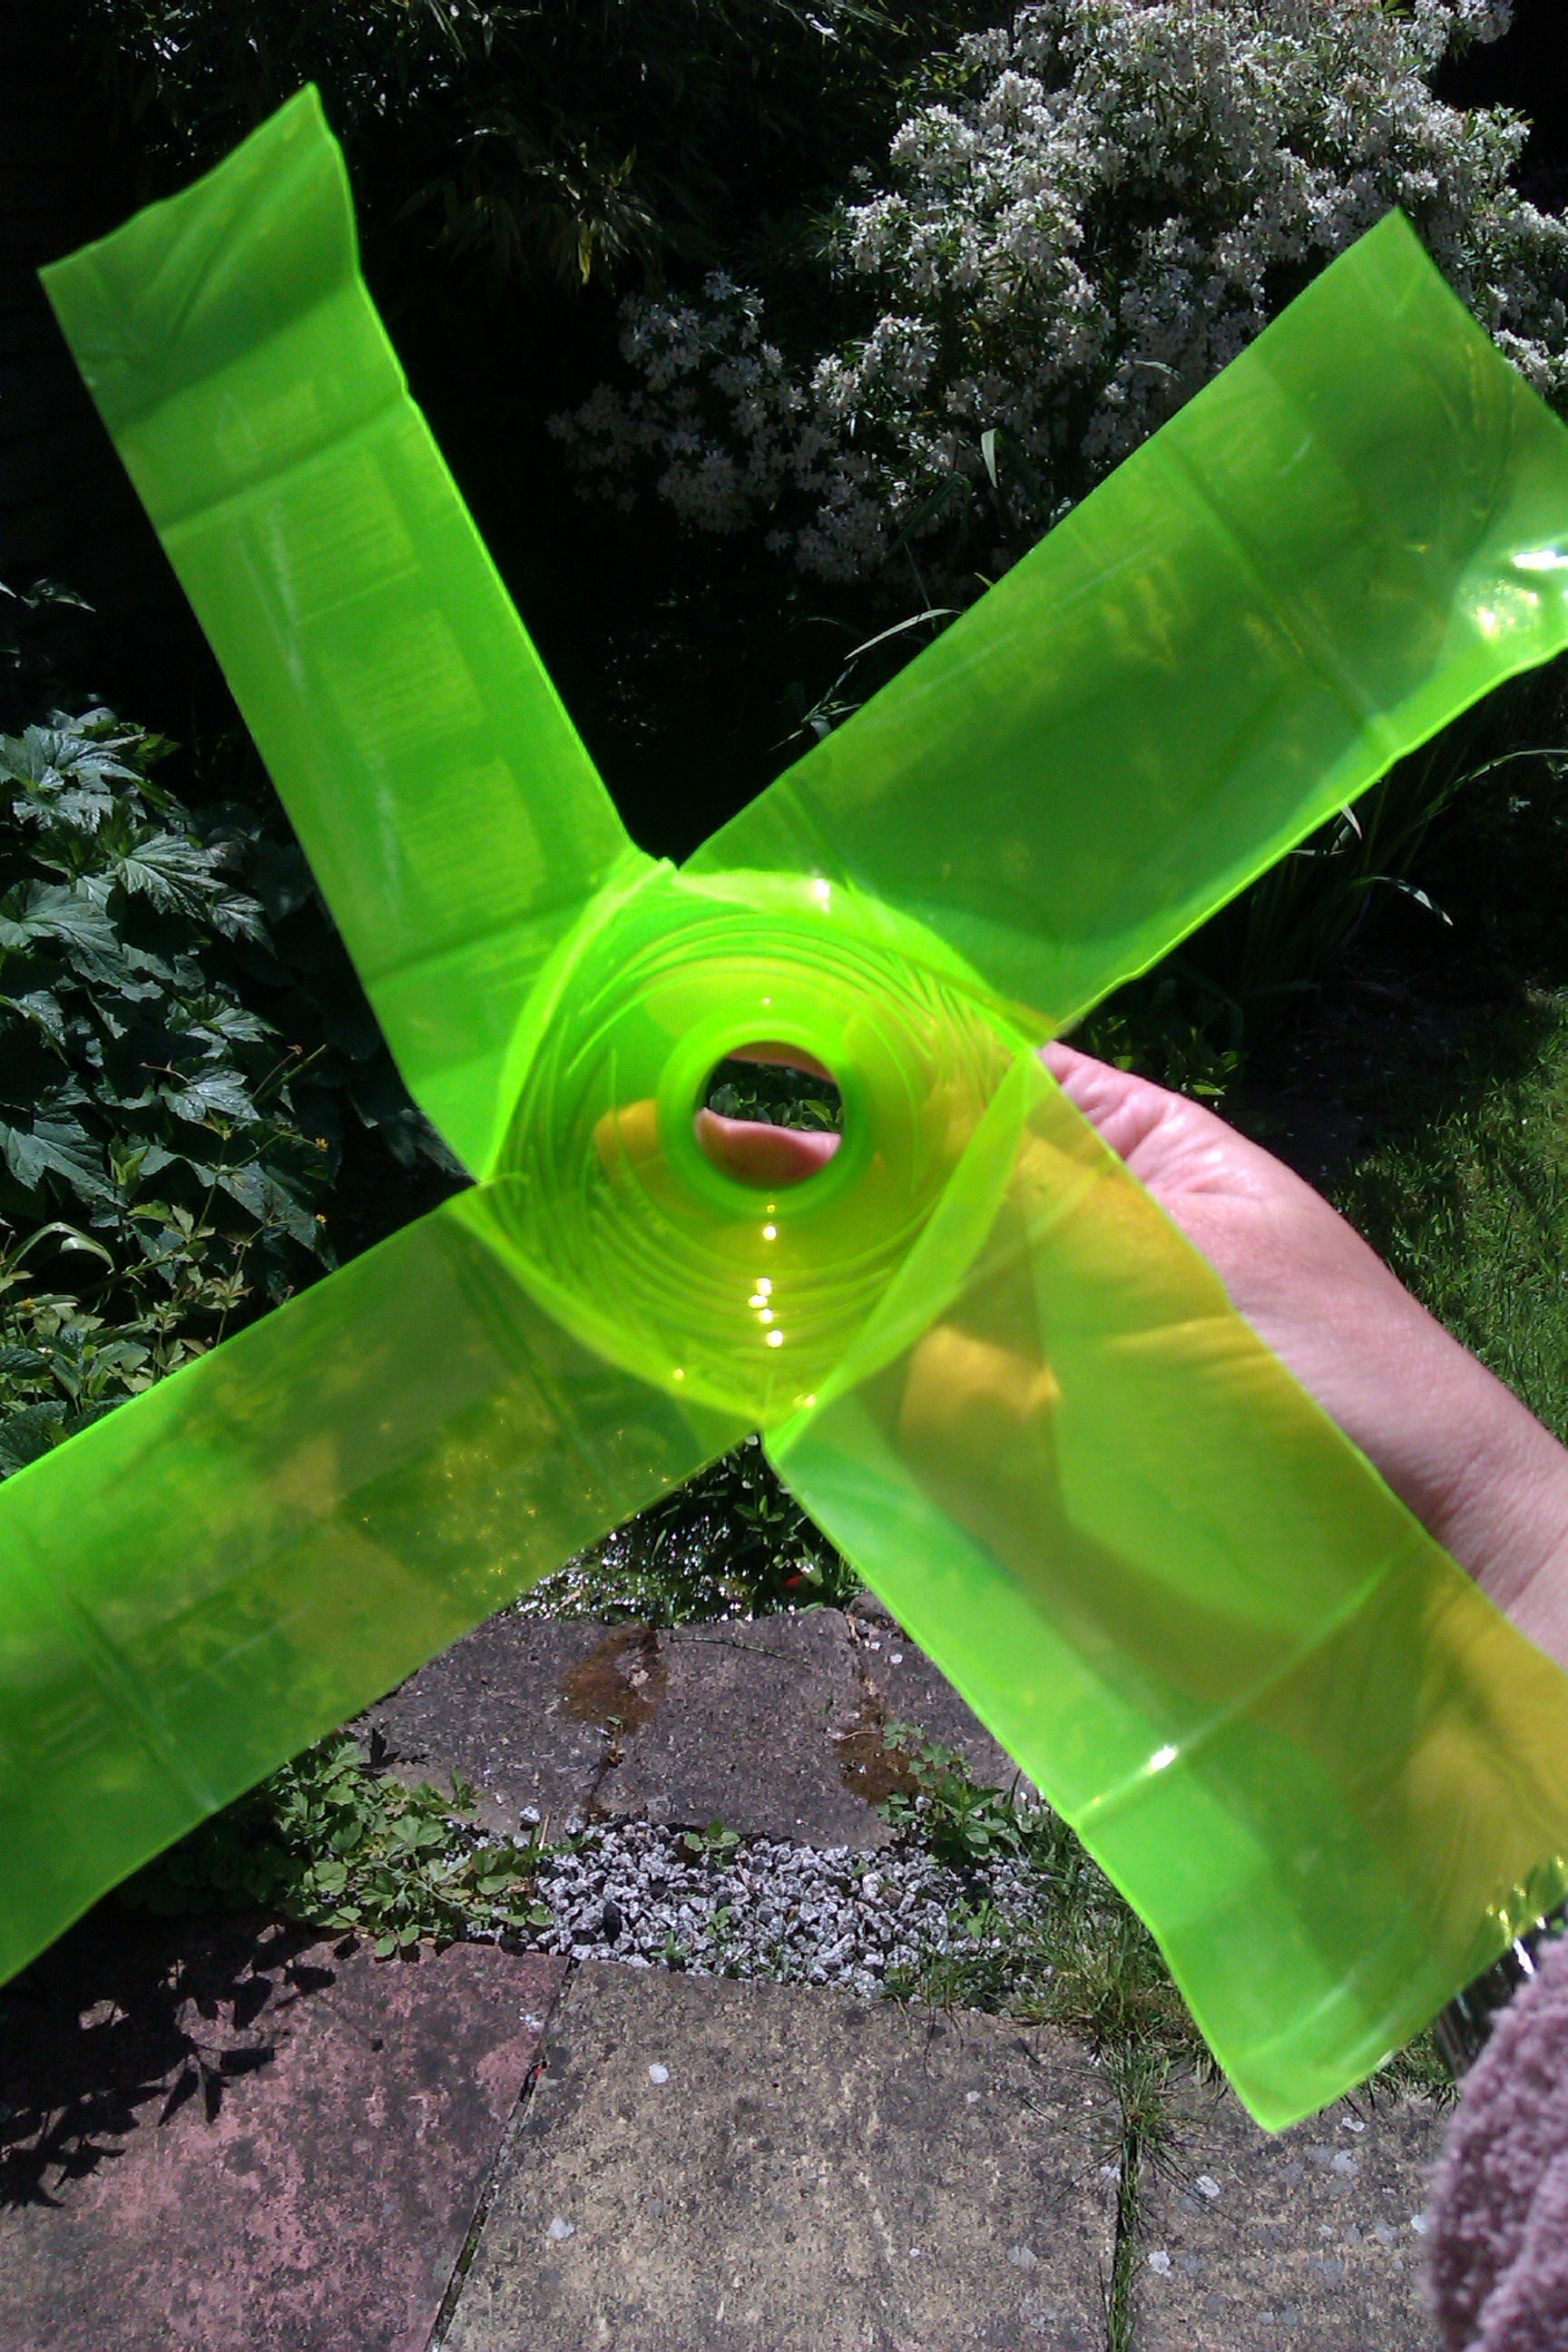
Time for a bit of folding. Each sail needs to be folded outwards at an angle. This will help the wind catch the sails.

This is how it appears when looking down the neck of the bottle
Using the scissors again, make 4 short evenly spaced cuts around the end part of the bottle. Now the tricky part unless you have a drill! You need to make a hole in the centre of the bottom part of the bottle and the same in the lid of the bottle. The plastic of the bottles I used was quite thick so I found it necessary to use a metal skewer and a hammer to hit it with several times. The lid was much easier. You will need to make sure that the holes are big enough for your wire to pass through easily. This will make sure your windmill spins well. Try and remove any rough edges around the holes to aid smooth spinning. I used a scalpel for this.


Time to do the first part of assembling. Take the bottom part of the bottle and push it inside the open end of the sail part. This is where the cuts you made will help it stay inside. If it wants to pop out again just secure it with a few dabs of superglue.

Now take your wire and decide how long you would like the stem to be plus enough extra to run through the bottle from one end to the other. Put a bend at one end of the wire – this will secure the centre of the windmill.

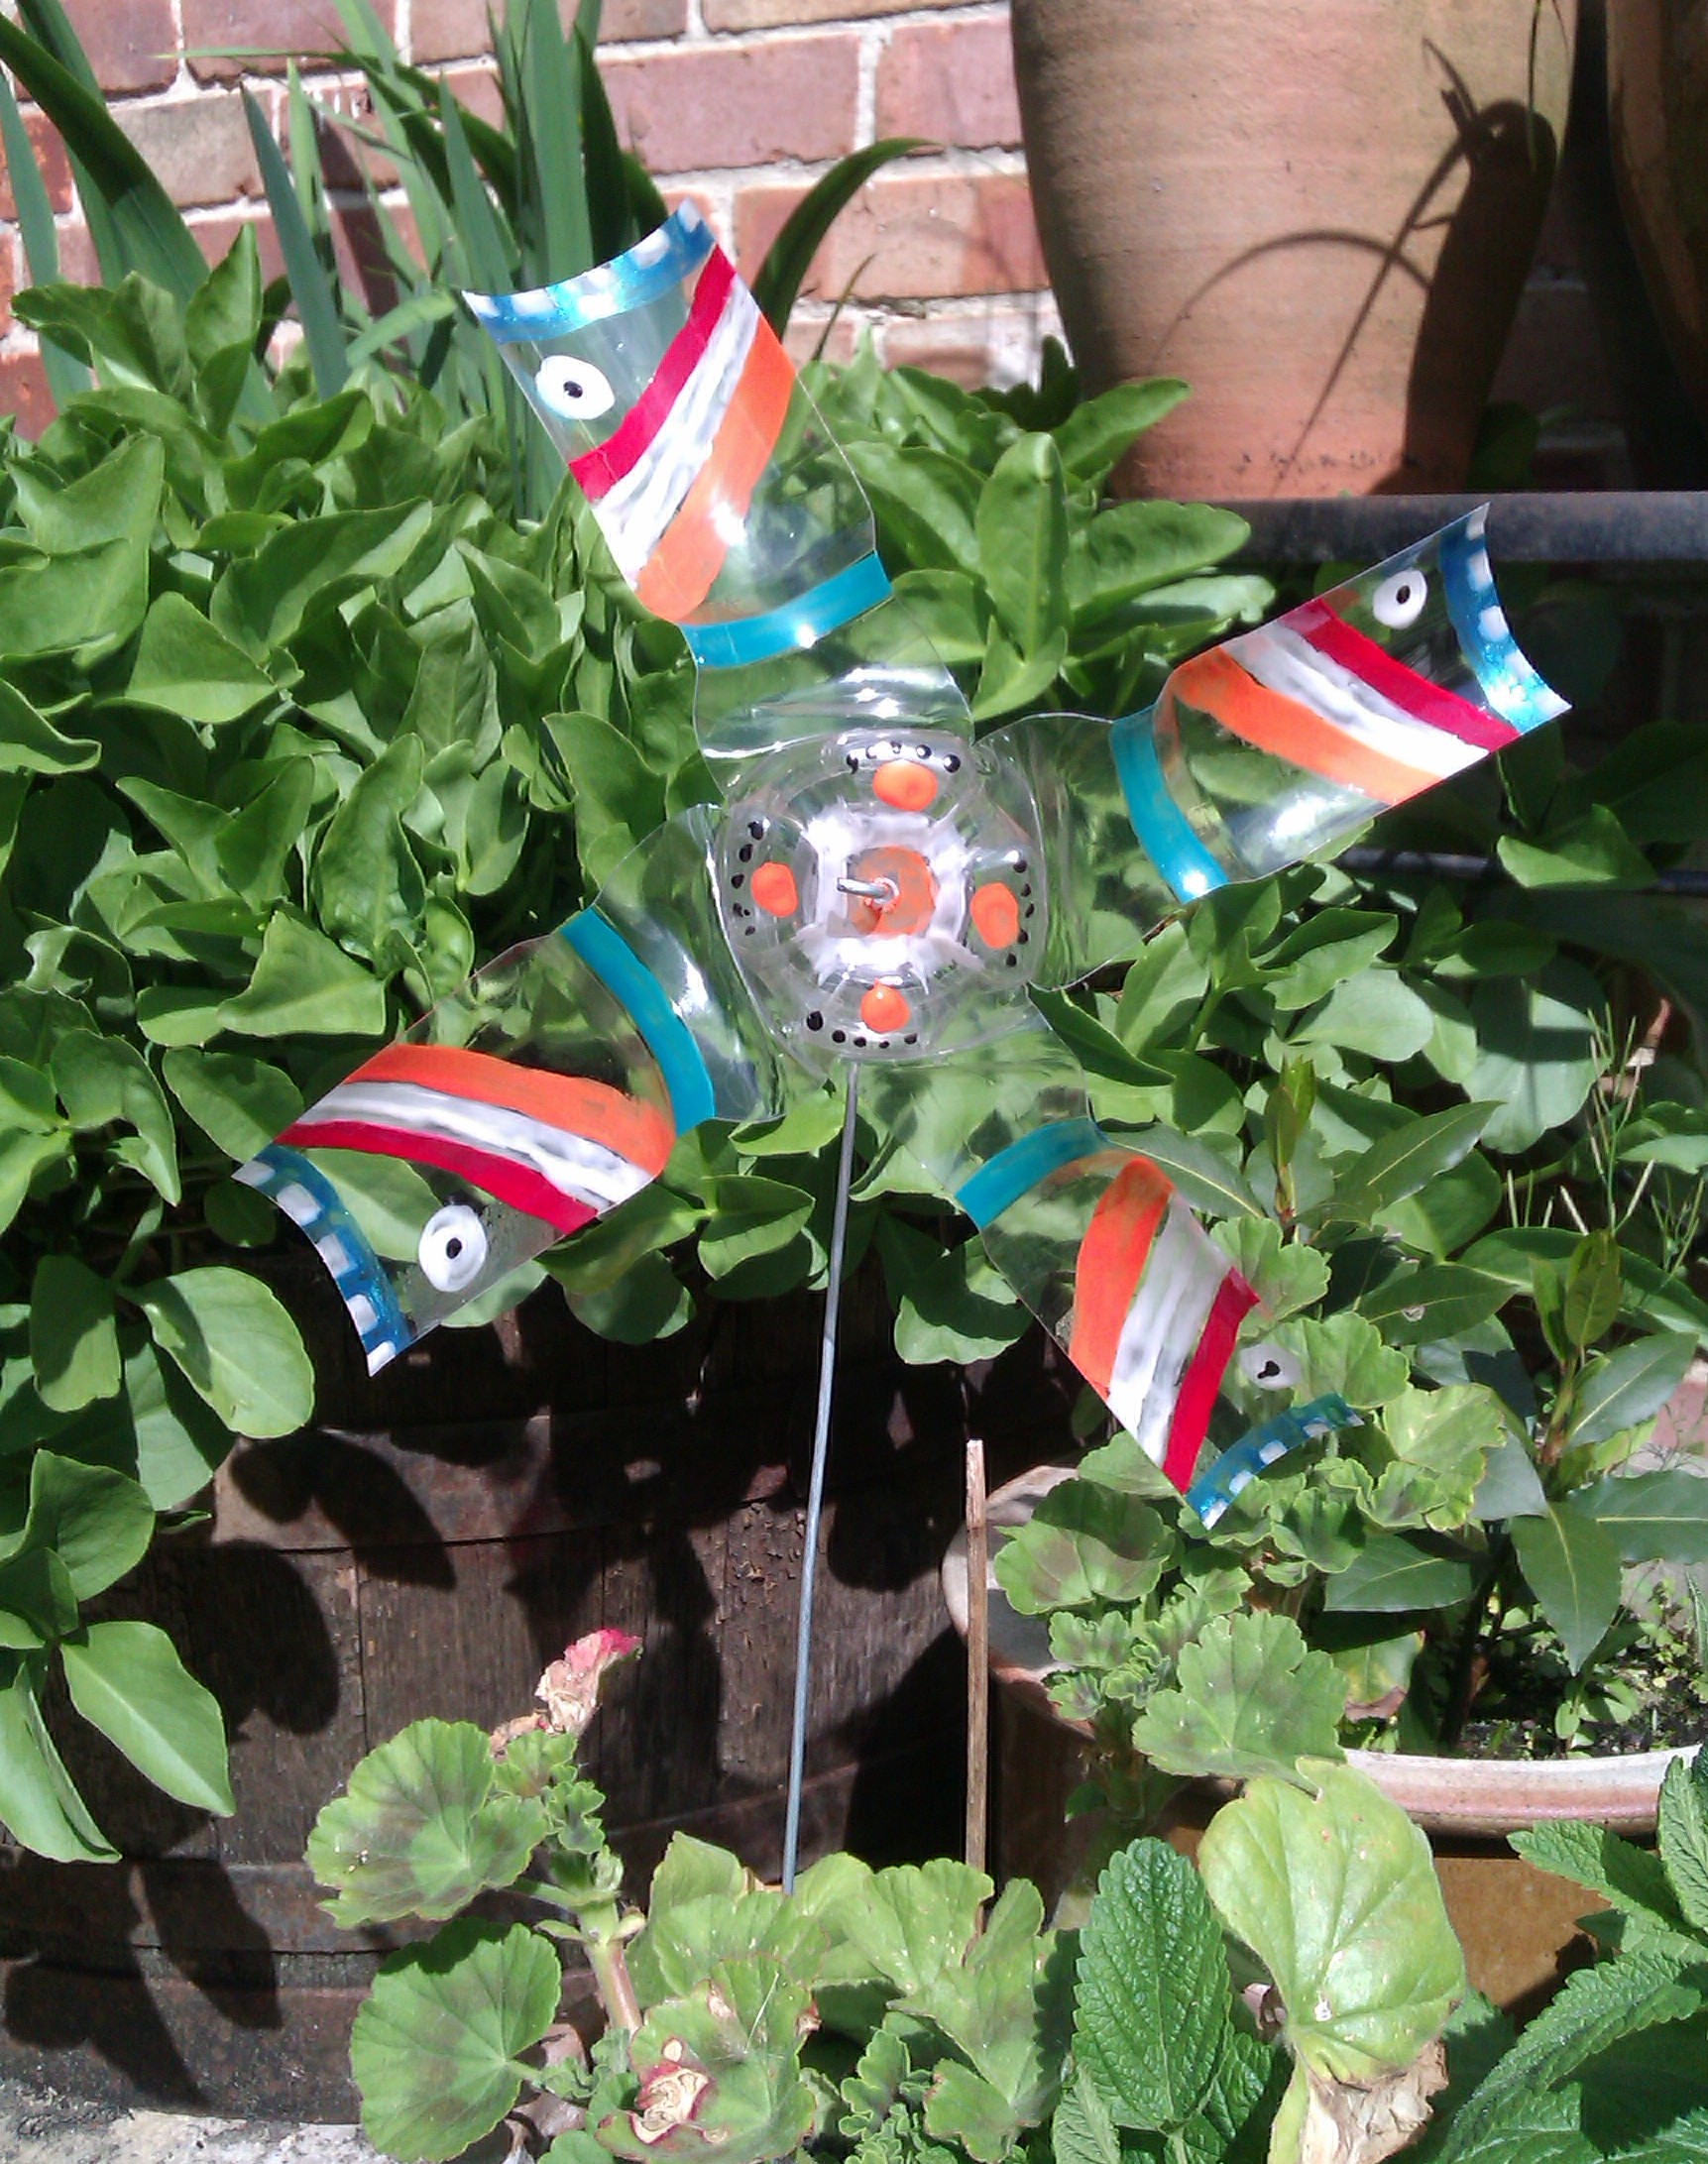
Now the bit I enjoyed most – painting 🙂 I used acrylic paints on this one so the pattern doesn’t get washed off in the rain. The windmill at the top of this post was painted using nail polish which works well too but needed a few coats. I also stuck sparkly sequins on another one – they look lovely if it’s a sunny day.

When the paint is dry you can assemble everything together.
Take the wire and add a bead to to the bent end (this will stop the wire catching on the centre of the windmill). Thread the wire through the centre and out through the lid. Before screwing the lid closed you can add a few sequins and small beads – nothing too heavy – inside the windmill. I have done this because I’m using them on my allotment to try and keep birds and moles away!
Before bending the wire to make the stem, now would be a good time to test whether your windmill will spin. If it’s not a windy day, just blow really hard at the front of your pinwheel. If it doesn’t spin check the wire isn’t catching and give the sails an extra push back.
Now screw the lid closed, add another bead and bend the wire at right angles to form a stem that can be pushed into the ground.

FINISHED 🙂


I SAY, I SAY, I SAY